How to Draw a Cute Whale
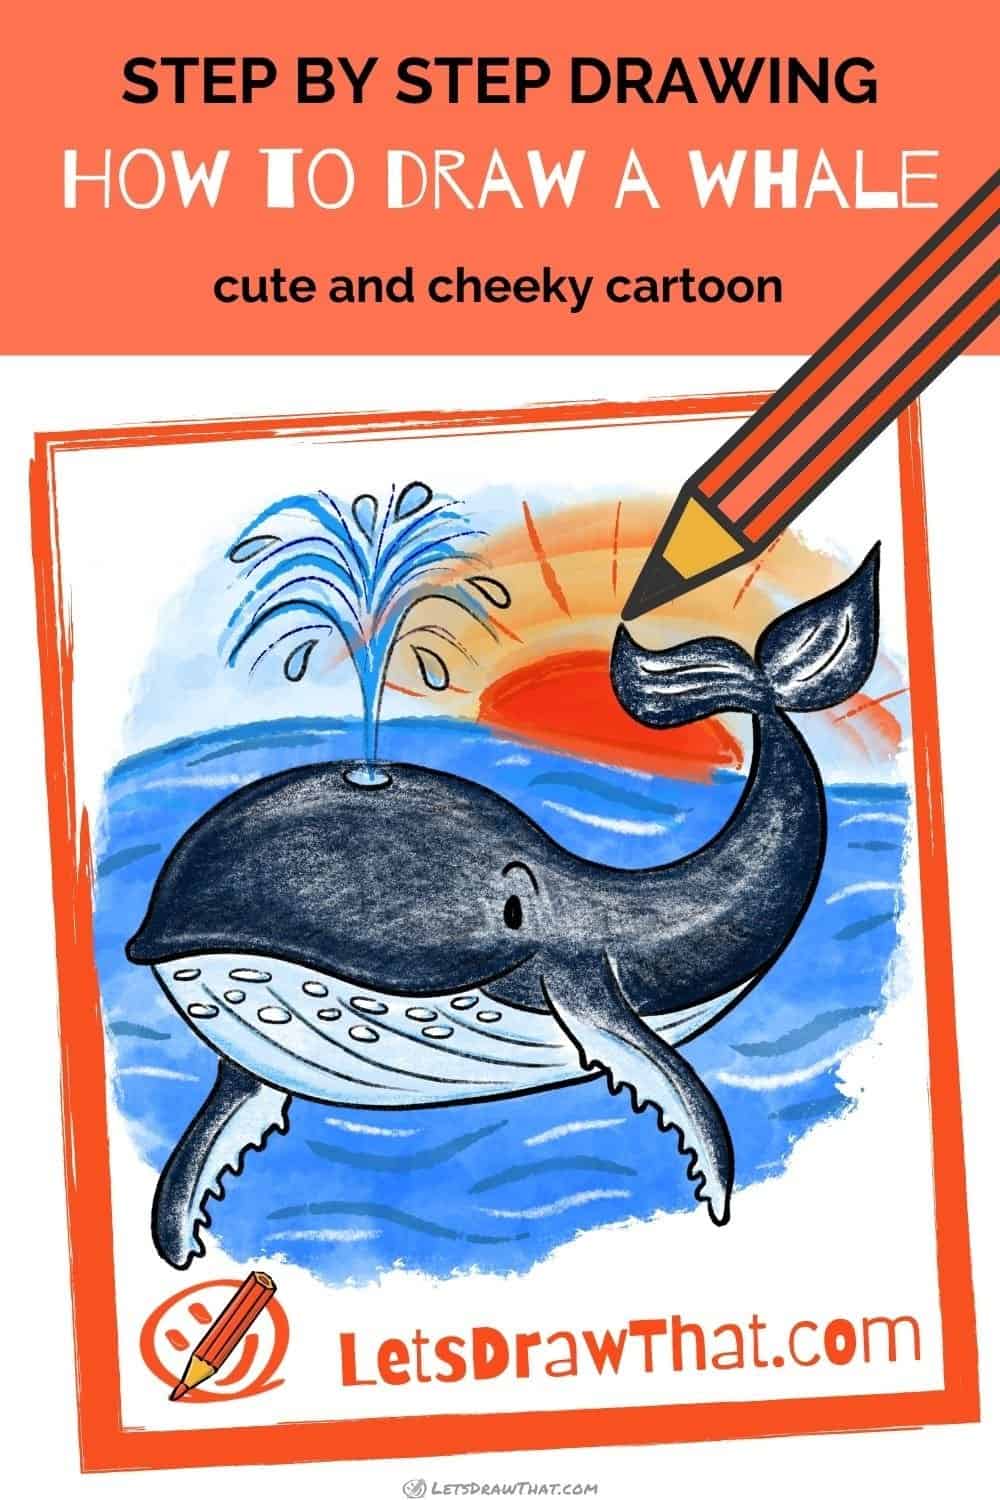
How to Draw a Whale - Cute and Cheeky Cartoon Style
Learn how to draw a whale in a few easy steps. Draw a nice cartoon-style whale with a cheeky smile and some real-life details for added interest.

In this tutorial, you will learn how to draw a whale. We start from a simple oval and in a few easy steps draw a nice cartoon-style whale with a cheeky smile. Then we borrow some real-life details from the humpback whale to add extra texture and a more interesting look to the plain drawing.
These are our favorites that we use for drawings on Let's Draw That:
Disclaimer: LetsDrawThat.com participates in the Amazon Associates Program. If you purchase a product using a link on our website, we earn a small commission, at no extra cost to you. This is one way how you can support this website.
Love drawing? Never miss a tutorial!
How to draw a whale: base sketch step by step
Step 1 : Sketch the base body shapes

Start your whale drawing with a simple base sketch. Draw an oval for the whale's large head. Then add two curved lines to mark out the whale's narrowing body - similar to our cartoon shark's "prawn" body. You can curve your whale any way you like - here we are making the whale's tail bent up into the air.
Step 2 : Sketch the whale's flippers and tail

For the next step, add the flippers and tail to the body sketch. These are all drawn from simple "S" curves. One flipper is hidden behind the whale's body, so the lines start at the head oval and merge together as the fin narrows. See that we have left a small gap between the lines - we will close and round of the tip of the flipper later, when we outline the sketch. The front flipper overlaps the whale's body. Draw it again as two "S" curves, starting in the middle right of the head oval. The tail is drawn in a similar way and looks like an upside-down moustache. Draw two "S" curves on each side, this time meeting together at the end pointing up.
Step 3 : Mark the lines for the mouth and belly
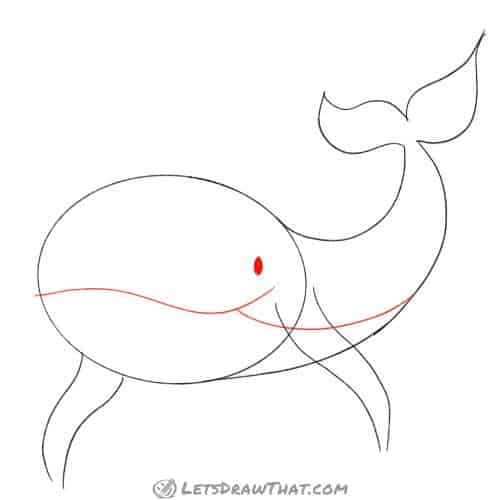
The next step is easy: draw the mouth line, splitting the head oval roughly in half. Again, feel free to draw any smooth line for the mouth - here we are staying with the "S" curve theme, and giving our whale a bit of a cute and cheeky smirk. Mark a small eye just above the end of the mouth line. Finally, draw a simple curve to mark the whale's belly - notice it starts a short bit before the end of the mouth line and merges smoothly with the lower body curve.
Step 4 : Add the final details
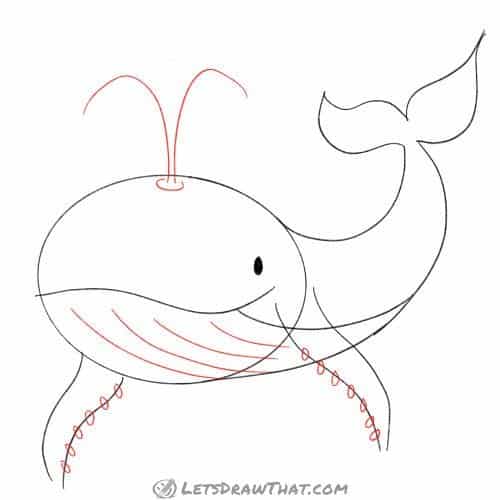
Our sketch is almost done, let's add a few final details to improve our whale drawing. Since we have drawn the fins really long, let's call this a humpback whale and add the knobs on the leading flipper edges. Sketch them as a row of small ovals for now. Next, add the throat grooves, that many whale species have. These are just parallel lines down on the whale's "chin". A final whale trademark is the blowhole at the top of the whale's head - a nostril used to expel and breathe in the air when the whale surfaces. Draw that as a simple oval. When whale breathes out, often there is a visible water spout of the warm air mixed with water. Let's mark that out with two simple bent lines for now.

How to draw a whale: outline the drawing step by step
Step 1: Outline the mouth and front flipper
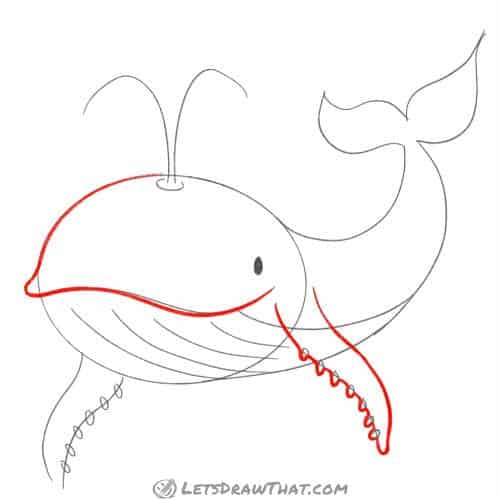
With the sketch done, let's start outlining and improving our whale drawing. Start outlining the head, and join it with a smooth corner to the mouth. You can draw the joint as a little "lip" sticking out from the head oval as we did. Next, outline the front flipper, drawing out the knobs on the flipper, and joining the two sketch lines with a rounded off tip.
Step 2: Draw the whale's body

Now you can outline the rest of the body, breaking the belly lines where the flipper covers them.
Step 3: Draw the whale's flipper and tail

Outline the other flipper, again drawing around the little knobs. Then draw out the whale's tail - this is a straightforward outline of the sketch.
Step 4: Draw the eye and grooves
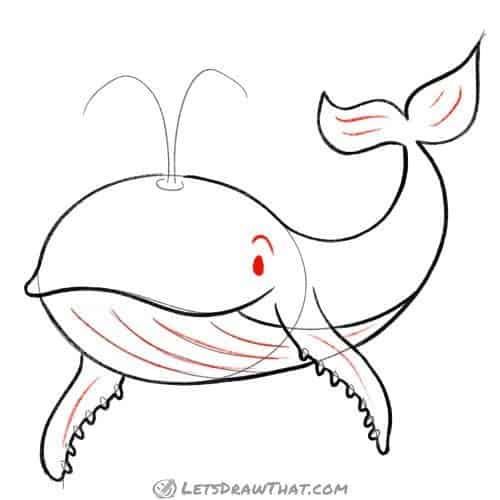
Our whale drawing is almost finished - here is the first round of the final detail improvements. Outline the throat grooves. Then add a light line in the middle of each flipper, and two marks on each side of the tail for some texture.
Step 5: Draw the water spout
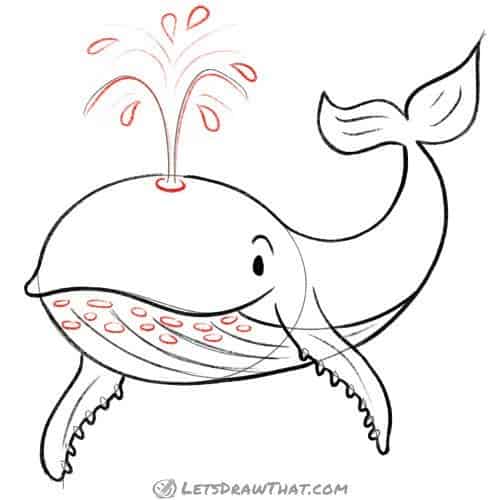
In our last step, we improve on the simply sketched water spout. Outline the two main lines we have sketched, and lightly mark a few more streaming water lines in between. Then add a few waterdrops for some variety. Our very final detail is to add a few knobs onto the whale's chin for some extra texture - just little ovals, to complete the humpback whale look.
How to draw a whale: finished drawing
How to draw a whale: finished outline drawing
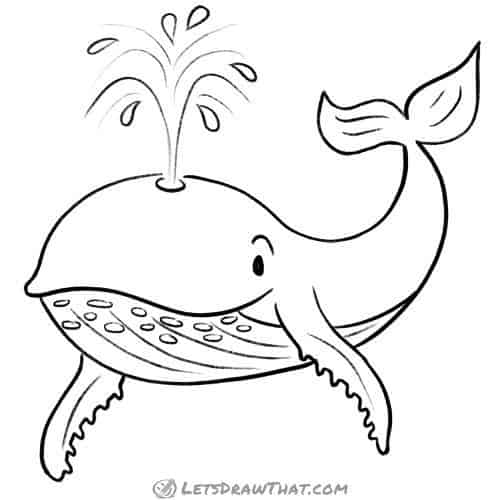
You have just learnt how to draw a whale! Just finish the drawing with the usual cleanup erasing the sketch lines, and you have drawn one lovely whale. This one turned out to be a cartoon style whale with a cheeky smile and some real-life humpback whale details added for extra body texture and a more interesting look.
How to draw a whale: finished drawing coloured-in

And here is our usual colouring step. While most whales are dark grey, on many underwater pictures they get a nice blue tint from the water. So here our whale is coloured in dark blue for the upper body, and in a very light blue on the "white" parts of the belly and flippers. And we could not resist adding some romantic scenery with a bright orange setting sun to add colour contrast to the shades of blue. How did you finish your whale drawing?
Like this tutorial? Share it with others:

Love drawing? Never miss a tutorial!
Get notified when there is a new tutorial published on Let's Draw That! (2-4 times a month)
Check out the latest tutorials:
Like this? Share the fun with others:
Source: https://letsdrawthat.com/how-to-draw-a-whale/
0 Response to "How to Draw a Cute Whale"
Post a Comment